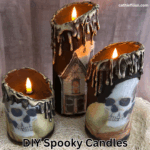
 Tissue Transfered Candles
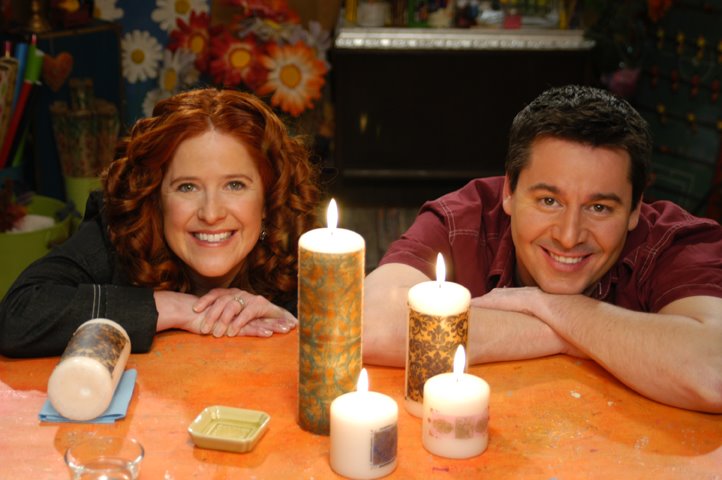
Transform plain candles with a few stamping supplies. Great for holiday gift giving and decorating! From the Medieval Lights episode of Creative Juice.
Supplies:
Light colored pillar candle
White tissue paper
Scissors
Rubber stamp
Ink pad – black
Purple embossing powder
Embossing gun
Luminarte Twinkling H2Os watercolors
Paintbrush
Parchment paper
Small scrap booking eyelets
Candle paint pen
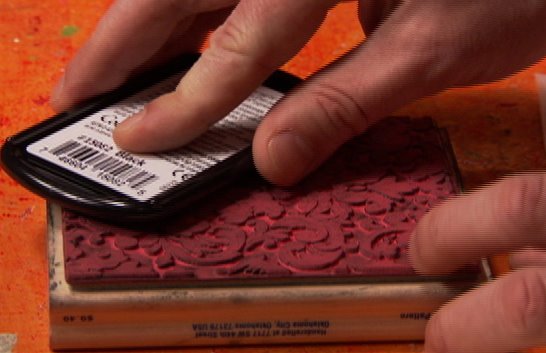
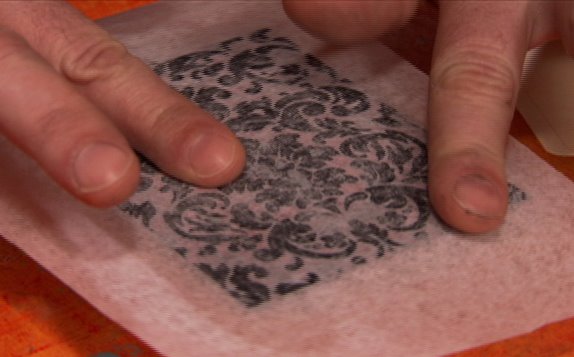
1. Cut a piece of tissue paper that is large enough for your stamp. One side of the tissue paper will be slightly glossy. Ink your rubber stamp and stamp onto the glossy side of the tissue paper. If you’re using a larger stamp, place the inked stamp rubber side up on your work surface, lay the tissue paper on top of the stamp, and gently rub the paper to fully transfer the image. Gently lift the tissue paper from the stamp.
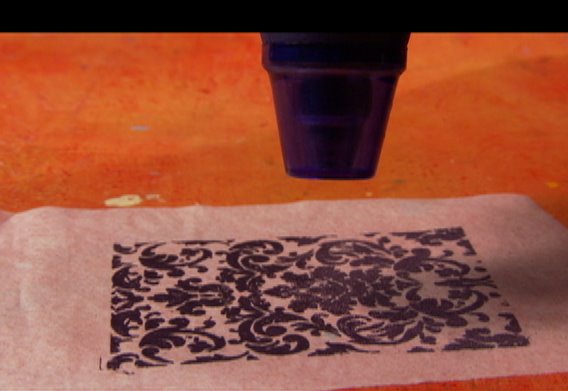
2. Sprinkle embossing powder on the image on the tissue paper and tap off the excess. Work over a manila file folder so that you can easily funnel excess embossing powder back into its jar. Heat the powder on the candle with an embossing gun until the image is embossed.
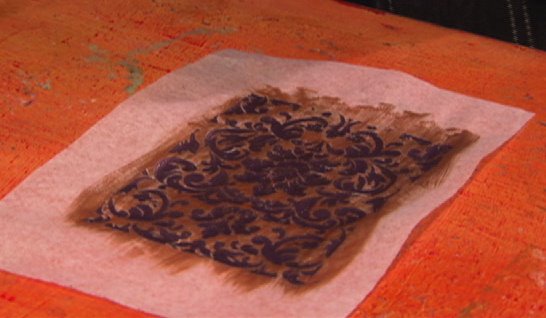
3. Swirl a wet paintbrush into the Twinkling H2O and color in the background of your stamp. (If you don’t have Twinkling H2O watercolors, any other type of watercolor will work.) Make sure your paintbrush is not too wet or your tissue paper may tear. Allow to dry (drying takes about ten to twenty minutes).
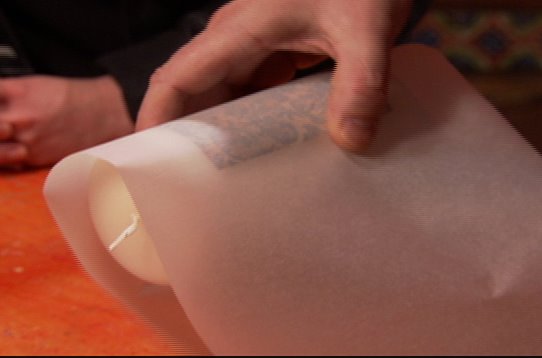
4. Cut a piece of parchment paper that is large enough to cover your image and wrap all the way around the candle, plus an extra several inches of length. Trim the excess tissue paper around the edges of your image. Place the image onto your candle. The embossed side of the image can face in toward the candle or outward, depending on your preferences. We placed the embossed side inward for a more antiqued look. Wrap the parchment paper tightly around the candle, using the excess parchment paper in the back as a handle.
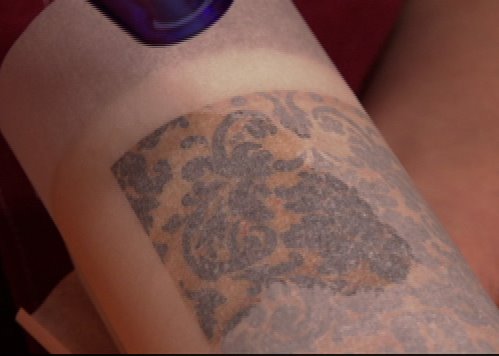
5. Move your embossing gun over the image to melt the tissue paper into the candle. You will be able to see the wax melting through the parchment paper. Once you see the wax melt in one area, move the embossing gun to another area so as not to melt the candle too much. When the entire image has melted into the candle, carefully remove the parchment paper.

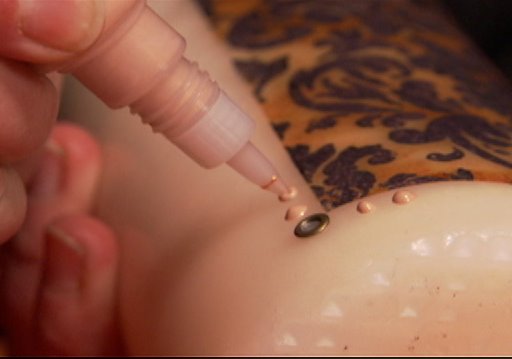
6. Add details to the candle using scrapbooking eyelets and candle paint pens. While the candle is still warm from step 5, press eyelets into the candle at the corners of the image. Add dots and lines with candle paint pens and allow the candle paint to dry for 24 hours.
 enjoy!


Oh neat idea! Linking…
Really great idea. My sister and i might do a couple of these for my mom’s birthday in January.
Wow, that is such a great gift project! Thanks for sharing!! 🙂
Amazing what you can do to a simple candle!
That’s really nice. What a great idea. I bet you could print on tissue paper (fast draft, light ink) let it dry and do the same thing.
Really great project! Thanks for sharing.
Cheers,
Madge
Will this project work with soy candles?