






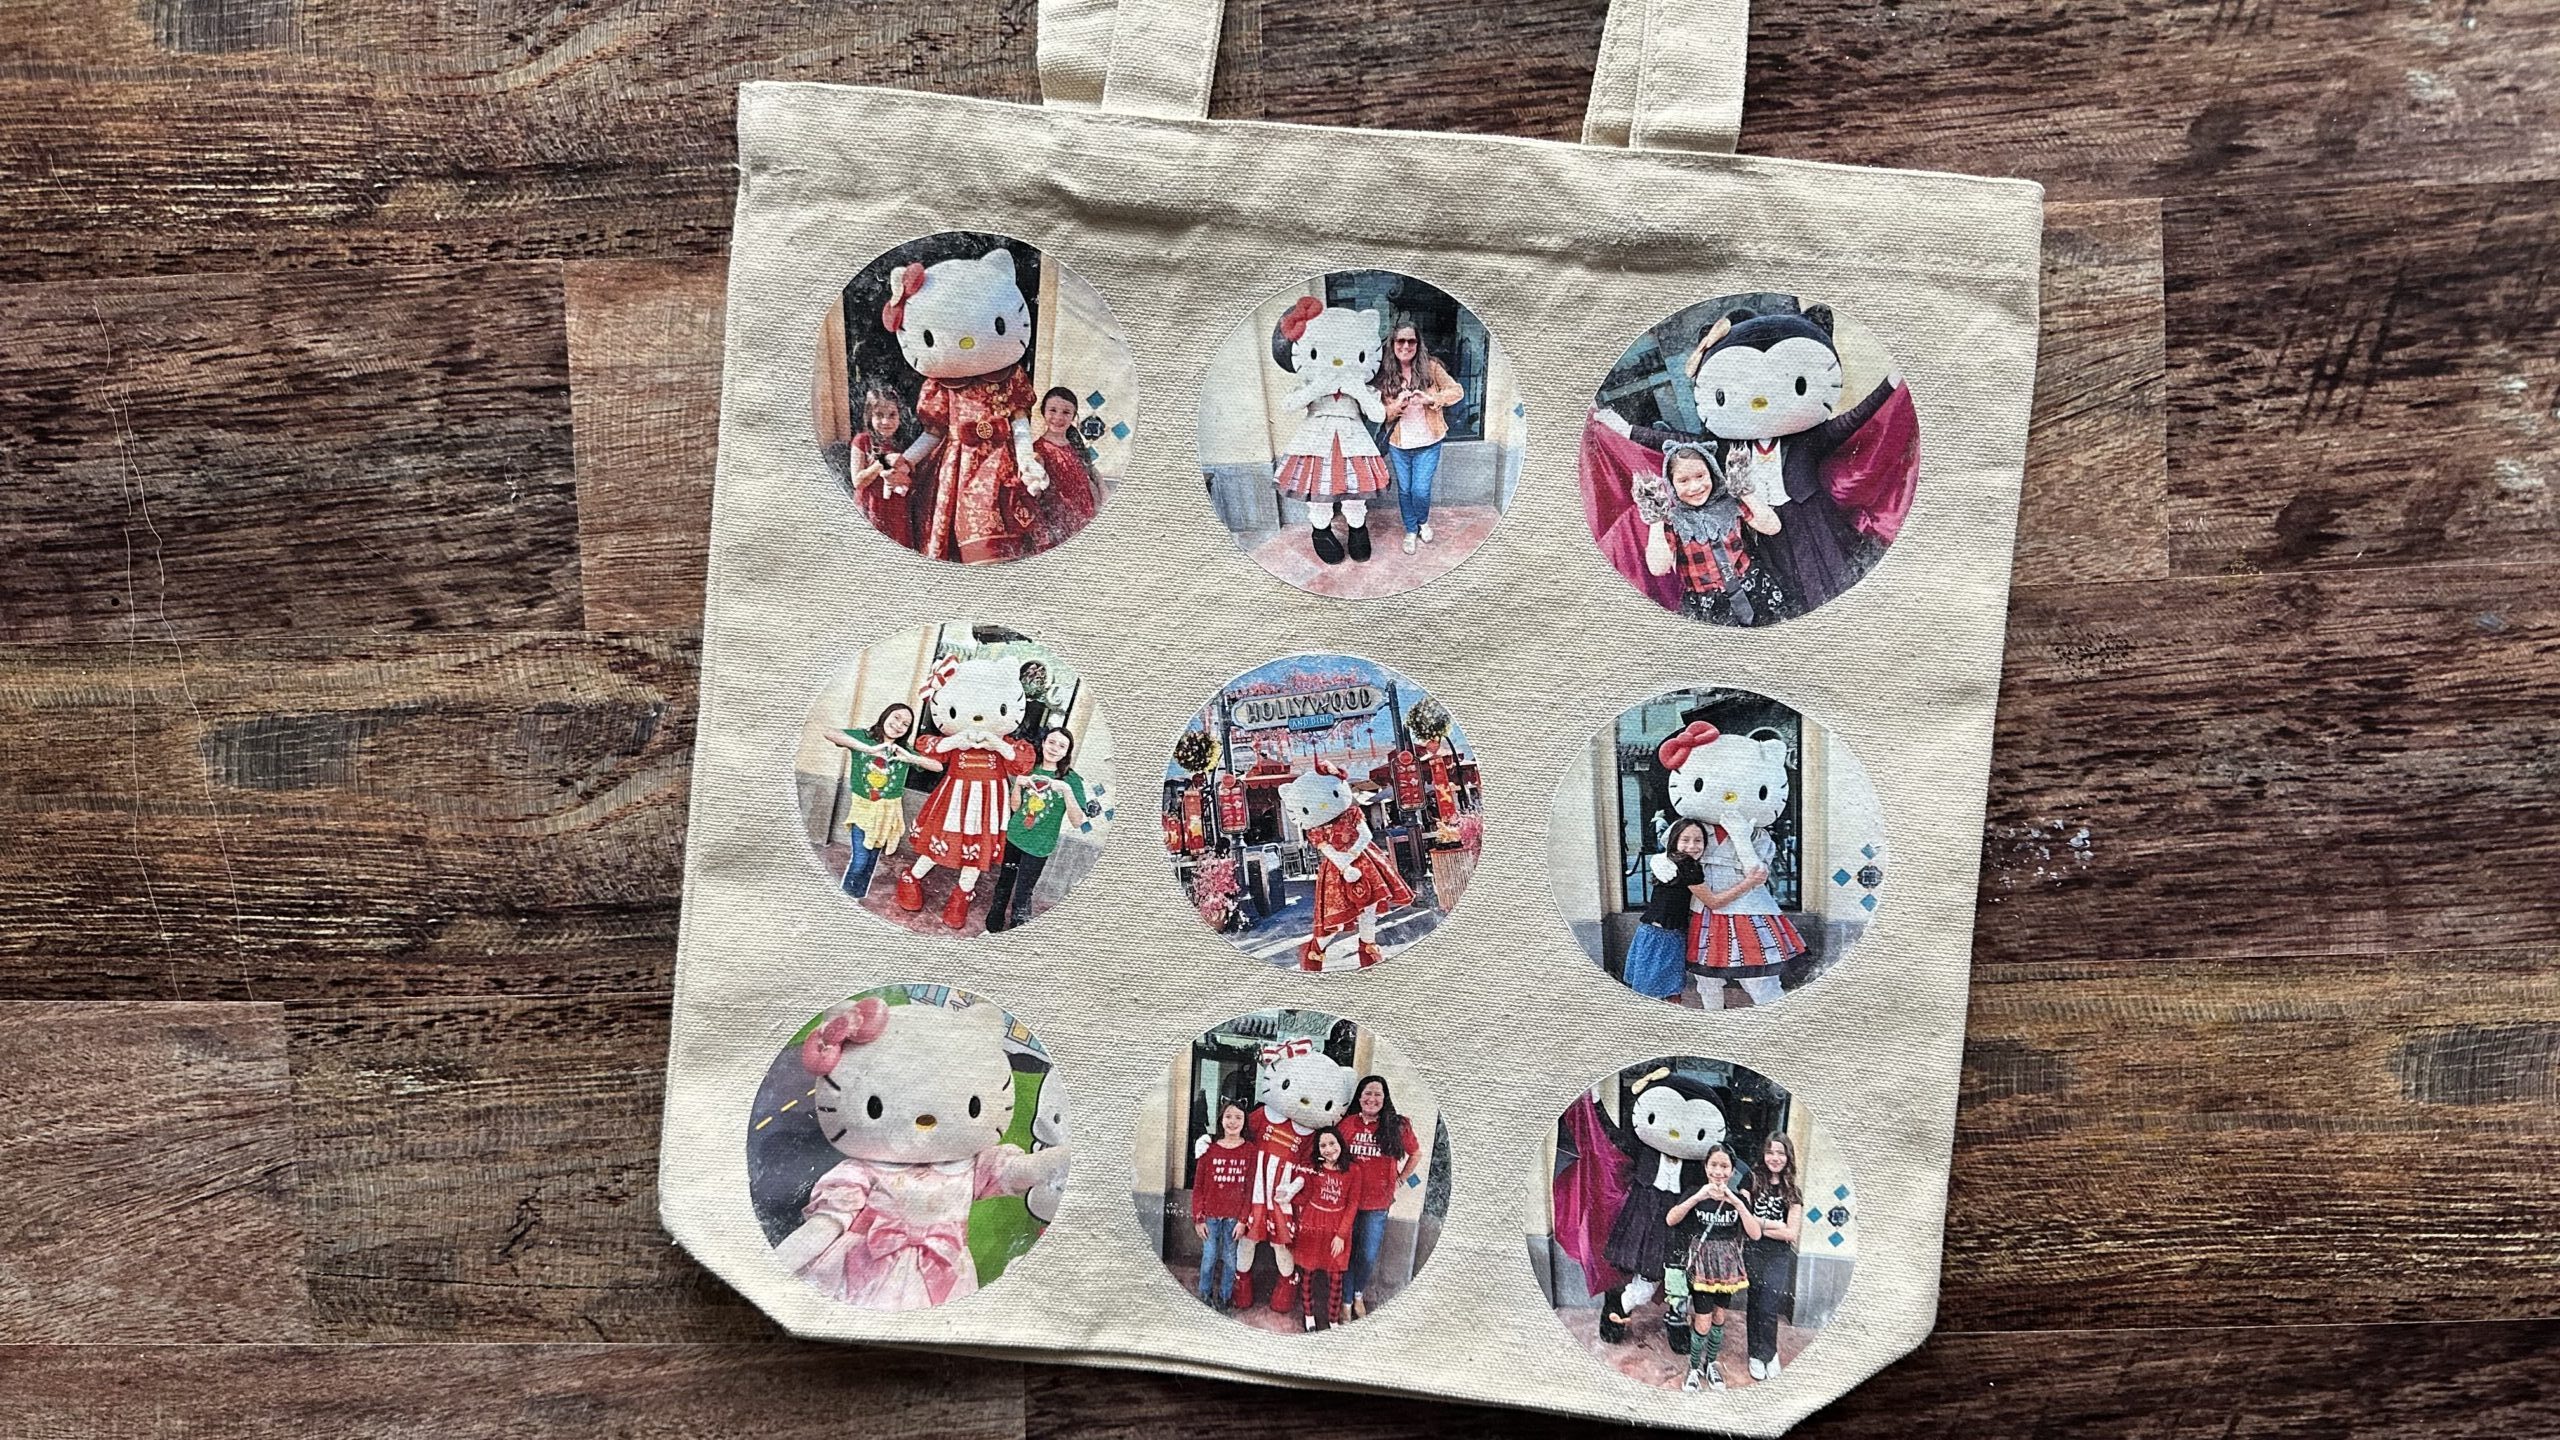
Today, I’m teaching how to do photo transfer with Mod Podge Photo Transfer. This technique is easy to do but it does have several steps. In the video, I explain each step from prep to image reveal.
Watch and Learn:
How to Transfer Photos to Canvas Fabric with Mod Podge
Tips for Successful Mod Podge Photo Transfer Projects
1. Use regular copy paper with a laser printer – Regular copy paper gives you the best results. Thicker paper is much harder to remove during the photo transfer process. We, also, don’t recommend using photo paper or actual photos. A laser printer is a must for any photo transfer project.
2. Prep the paper for removal – Wet the paper and let the water seep into the paper. Let it sit for 2 minutes before removing the paper.
3. Removing the paper – The best way to remove the paper is in slow circular motions using a sponge or fingertips. It may take multiple times to remove the paper Best surfaces to photo transfer on for a beginner – Best surfaces for a beginner are a rigid surface such as wood or canvas.
4. Best Photo type – Dry toner image – Same as LASER color copy. Most important use a dry toner image (color or black & white). NOT INK JET.
5. Reverse the image – If you have an image with words, reverse the image on your computer or on the copier so the words will show correctly on your finished piece.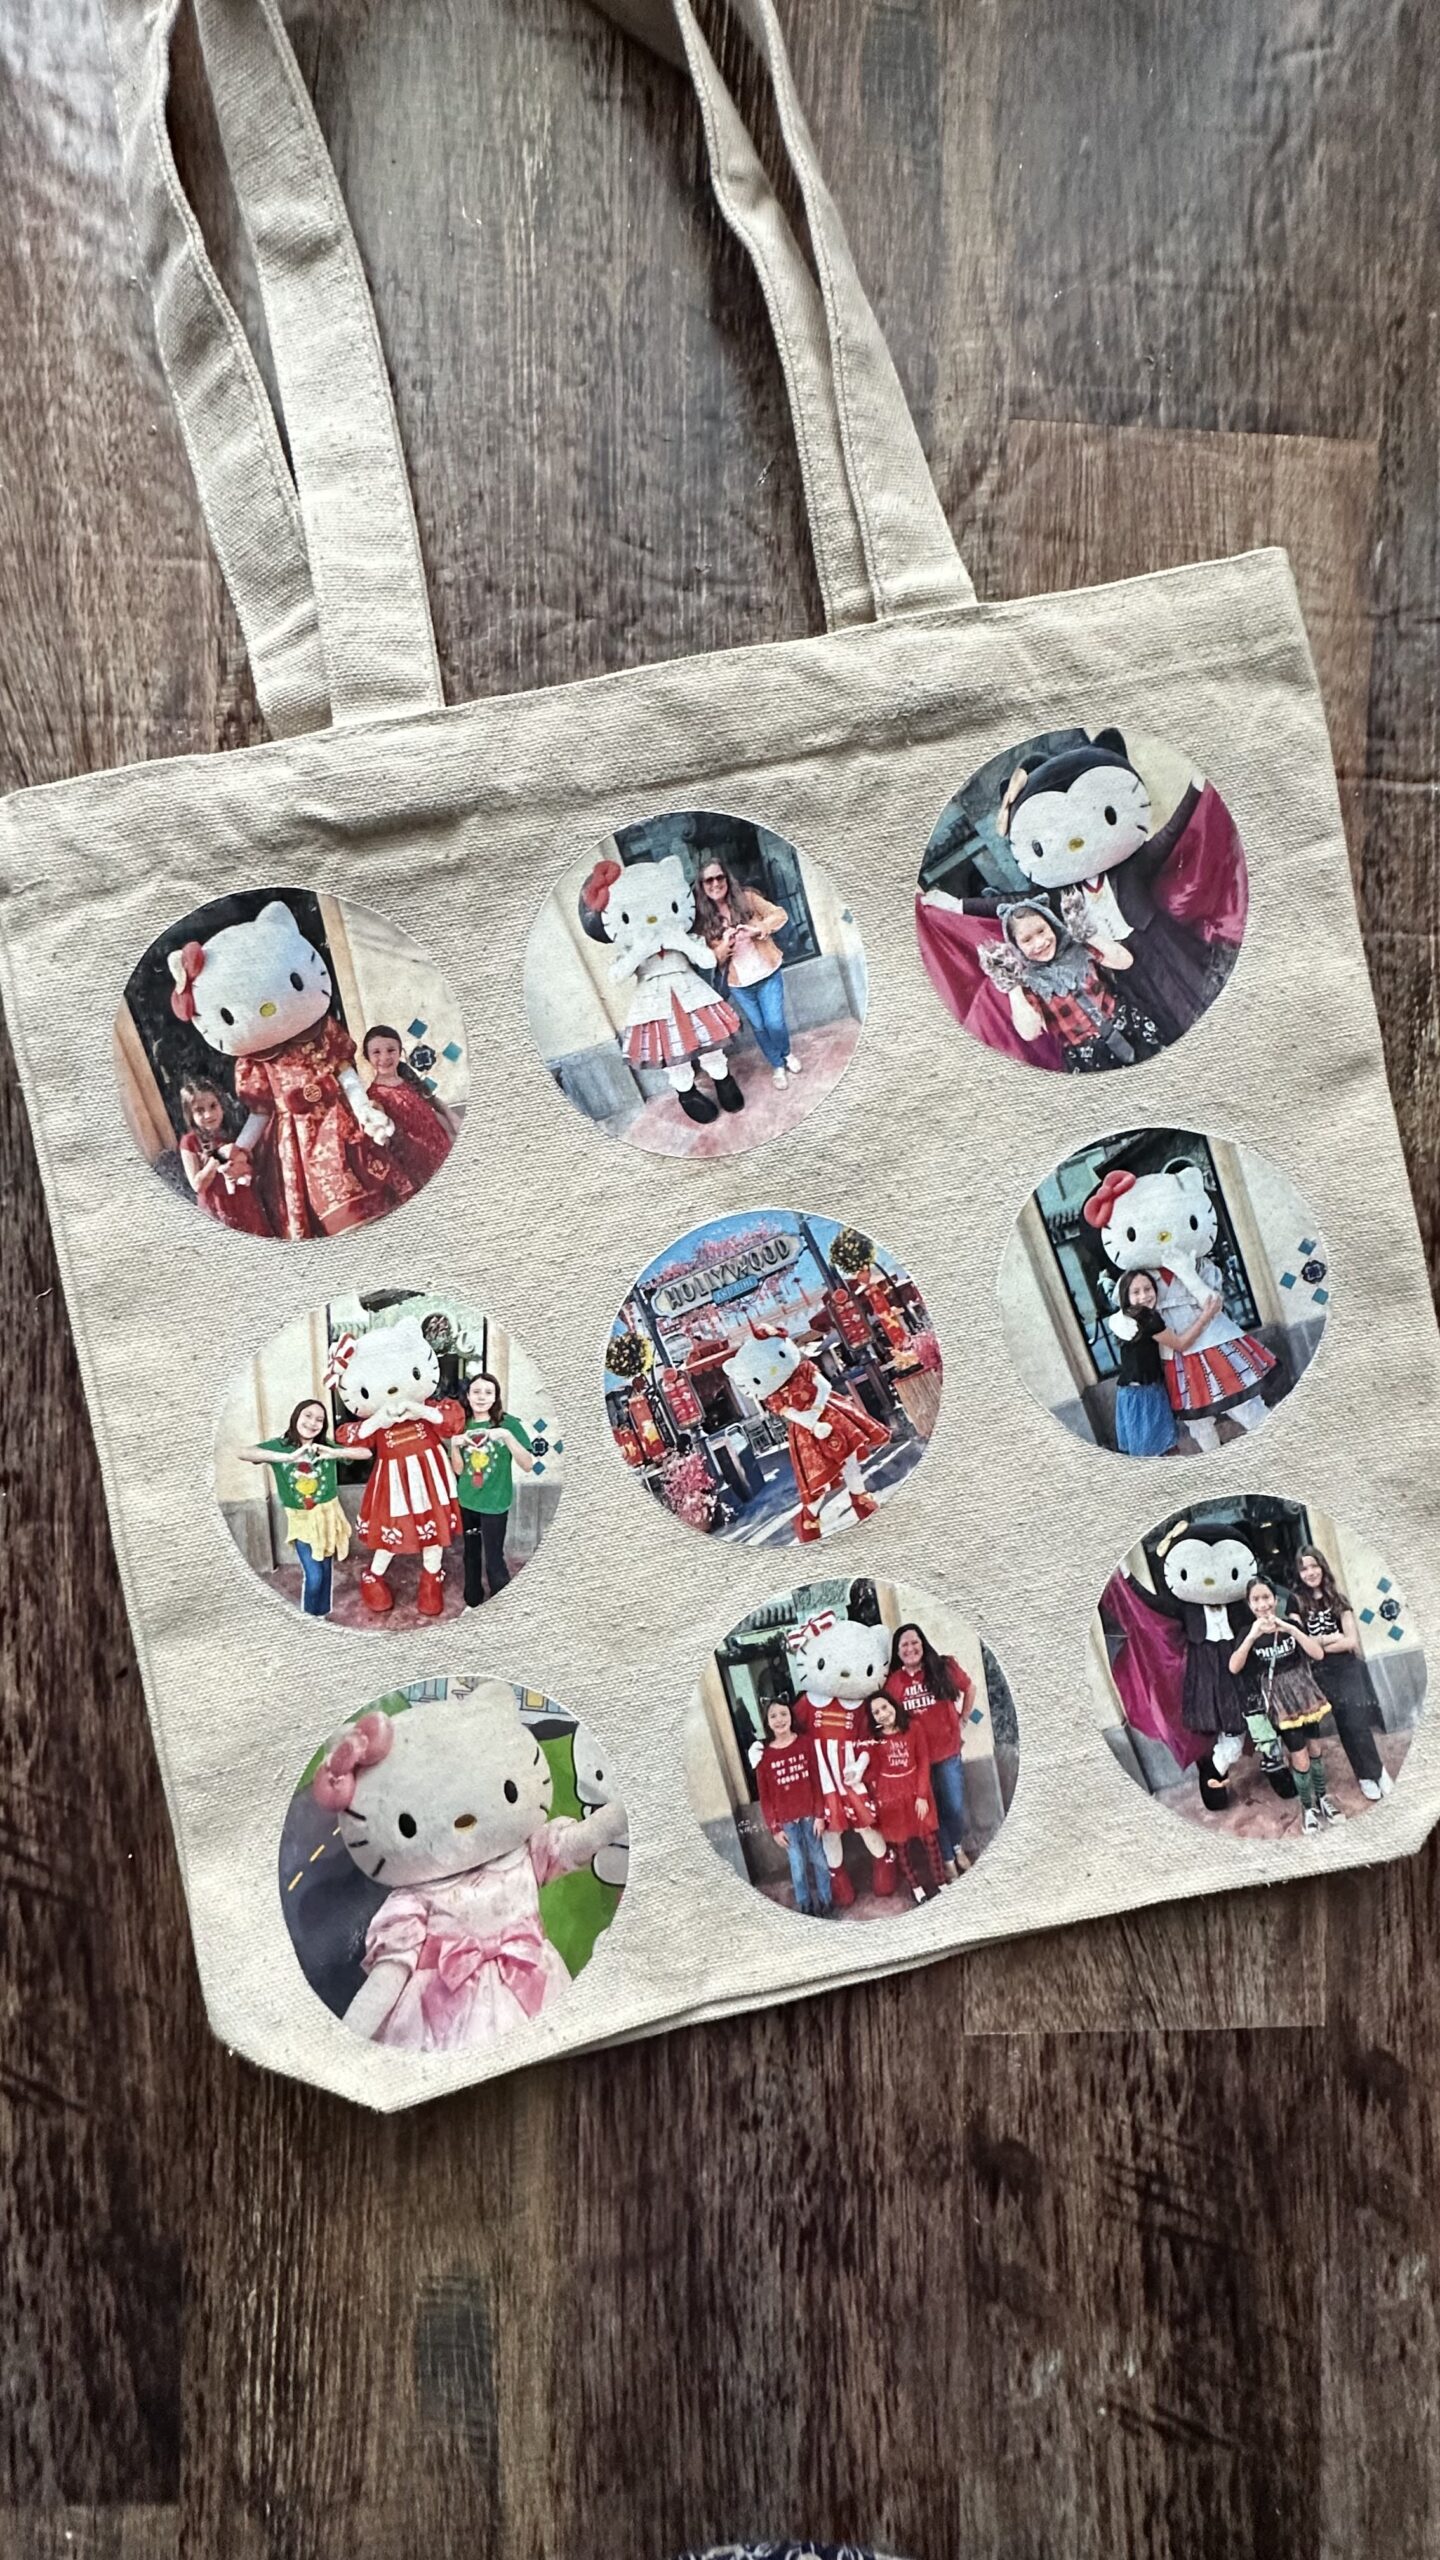

Thanks for stopping by! Please pin and share the projects you love! Have questions? Drop a comment and I’m here to help you! Be the first to see new videos on my YouTube Channel! XOXO Cathie
YOUTUBE Subscribe LINK:
https://www.youtube.com/c/handmadehappyhour?sub_confirmation=1